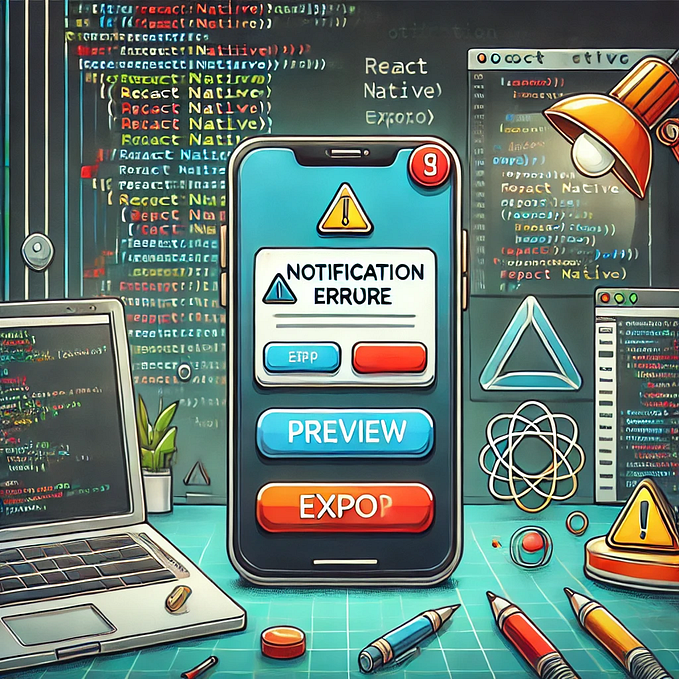
Dockerize Your React Native App

One day your operating system is asking you to download an innocent system upgrade or some patch update. What can go wrong? You have a side project application that you are building with React Native. You decide to accept the update and then turn off your PC after you are done with the system upgrade.
Next day, you are coming home. You are full of energy and you have some nice ideas to implement or prototypes for your app. You turn on your PC, open your editor and then go to your terminal and write your npm run android command to bootstrap your application. There are plenty of compilation problems and you are in shock because you just compiled your project successfully with no issue last time. You search for the cause and the best thing you can find is some outdated stackoverflow answers from 5 years ago. You do everything to figure out the root cause of the problem and you try to solve it but the more time you spend on trying to solve this problem the more fatigue you have and as a result you turn off your computer with frustration.
Next day you wake up and you go over the same process again and you start questioning life… Maybe you are thinking how bad React Native is and you think that perhaps you should have invested in other mobile technologies and so on.
This experience was how I felt when I upgraded my linux laptop from ubuntu 23.10 to 24.04 . It felt really bad, even though the upgrade seemed smooth it changed a lot of stuff for my development environment behind the scenes. Especially with my JAVA environment as a result some dependencies did not manage to pass compilation step when I was trying to fix the problem. I literally investigated the issue for more than 2 days and I thought I am wasting my precious time and instead I should be focusing on development rather than solving library / framework related problems.
As a result, I couldn’t fix the problem even though I knew the root cause. The problems that come from OS level can be challenging to figure out and I decided the best way to solve this problem was using containers and docker, isolating my app from my OS and making it more stable.
After a quick research and prototyping I was able to create an image from my app’s source code and I was able to run my app inside the container without any errors! It felt amazing and therefore, I decided to share the lesson I learned with everyone.
I am not going to explain the differences between containers and Virtual Machines as it is out of this article’s scope, rather now I would like to delve in about how do we start creating an image ?
First things first, you need to have docker engine installed in your computer. There are different ways to install docker engine. For more details you can go check out docker documentation about how to install it
Choose your OS and install accordingly. After the installation try
sudo run docker hello-worldcommand and if everything is successful you are ready to create a docker image from your app’s source code.
In order to create a docker image you need to have a Dockerfile in the root folder of your app. We will configure what we need in our image or how our container should behave.
#Dockerfile for Linux
# Use an official Node.js image, you can specify any other version you use
FROM node:20

# Install Java and other necessary tools
#I am using jdk-17 for this experiment
RUN apt-get update && \
    apt-get install -y openjdk-17-jdk wget unzip && \
    apt-get clean

# Define environment variables for Android SDK
ENV ANDROID_SDK_ROOT=/usr/local/android-sdk
ENV PATH="${PATH}:${ANDROID_SDK_ROOT}/cmdline-tools/latest/bin:${ANDROID_SDK_ROOT}/platform-tools"

# Download and install Android Command Line Tools
RUN mkdir -p ${ANDROID_SDK_ROOT}/cmdline-tools && \
    wget -O commandlinetools.zip "https://dl.google.com/android/repository/commandlinetools-linux-8512546_latest.zip" && \
    unzip commandlinetools.zip -d ${ANDROID_SDK_ROOT}/cmdline-tools && \
    mv ${ANDROID_SDK_ROOT}/cmdline-tools/cmdline-tools ${ANDROID_SDK_ROOT}/cmdline-tools/latest && \
    rm commandlinetools.zip

# Accept licenses before installing components
RUN yes | ${ANDROID_SDK_ROOT}/cmdline-tools/latest/bin/sdkmanager --licenses

# Install Android SDK components
RUN ${ANDROID_SDK_ROOT}/cmdline-tools/latest/bin/sdkmanager "platform-tools" "platforms;android-34" "build-tools;33.0.0"

# Set up the working directory for the React Native app
#The WORKDIR command is used to set the working directory
#for any RUN, CMD, ENTRYPOINT, COPY, and ADD instructions
#that follow in the Dockerfile.
#If the directory does not exist, it will be created automatically.
WORKDIR /app

# Copy package files and install dependencies
COPY package.json yarn.lock /app/
RUN yarn install

# Copy the rest of the application code
COPY . /app

# Expose the port the app runs on (if needed)
EXPOSE 8081

# Start the React Native Metro bundler
CMD ["yarn", "start"]
After we add these lines to our Dockerfile we can start creating our docker image with the
sudo docker build -t <your app's name> .After you build the image you can run your container with the
sudo docker run -it --rm -p 8081:8081 -v $(pwd):/app --network="host" <your app's name>The critical point is -v tag which is needed to volume your changes in your working directory to the container. Without that , the changes will not be reflected inside the container.
After all these commands and configurations if you built successfully your app inside the container, Congratulations !!! You do not need to worry about updates or upgrades anymore. You isolated your development environment and you can keep focusing on solely on the development.
By containerizing your React Native app, you’ve taken a significant step toward creating a more resilient and consistent development environment. This approach not only shields your project from unexpected system changes but also streamlines the onboarding process for new team members, simplifies dependency management, and ensures that your app behaves the same way on every machine. The time and effort you invest in setting up Docker are repaid with smoother updates, easier debugging, and a development workflow free from the quirks of local machine configurations. Embrace this newfound stability and focus on what you do best: building and innovating. Happy coding!